Imprescindibles
Recomanables
Grups google.com |
Sites https://sites.google.com |
Dibuixos drive.google.com |
Jamboard https://jamboard.google.com |
Traductor translate.google.com |
Edició d’Office google.com |
Ofimàtica
Office www.office.com |
Screen Recorder scre.io |
LibreOffice www.offidocs.com |
Gimp www.offidocs.com |
Inkscape offidocs.com |
Audacity offidocs.com |
As indicated above, Chrome OS Flex is currently available in early access, while the CloudReady Home Edition is available as a stable release.
Please note: When Chrome OS Flex is released as stable, we will automatically update CloudReady devices to Chrome OS Flex.

Before you begin
- Review CloudReady’s critical requirements.
- Test your network compatibility.
- Check if your device is certified.
What do I do if my device isn’t certified?
What you need
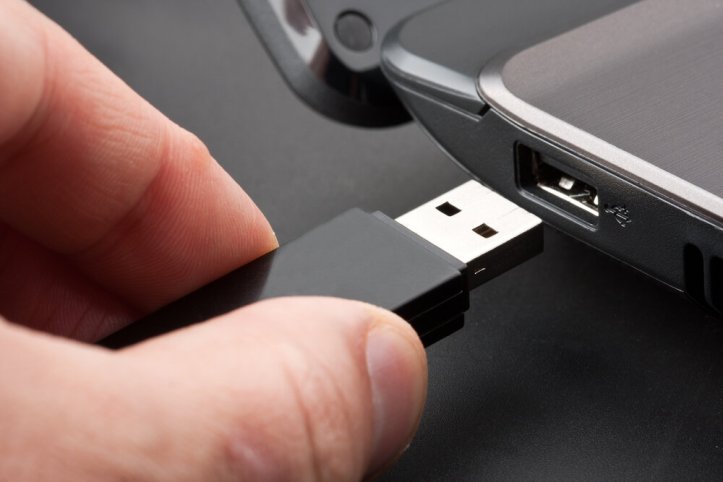
- An 8GB (or greater) USB stick
- 20 minutes for USB installer creation
- To create the USB installer: a PC, Mac or Chromebook running the Chrome browser.
1. Build your CloudReady installer

If you don’t have a Windows 7 or newer computer, download the 64-bit CloudReady image below to your Downloads folder (not to the USB stick) and then click the appropriate OS link below for instructions on how to manually create a USB installer.
Next: Finish Building Your Installer
- If you’re using a Mac, click here to proceed →
- If you’re using a Chromebook, click here to proceed →
- If you’re using Windows, click here to proceed →
2. Use the new USB installer to live boot & install CloudReady.
Follow these steps in our Install Guide to continue installing CloudReady using your USB installer.
Before You Begin
Working from Windows? If you’re making your USB installer on a Windows 7, 8, or 10 computer, we strongly recommend using the CloudReady USB Maker. It automates and simplifies this step of the process.
Download CloudReady
- Current CloudReady Enterprise/Education Customers or Trialers: download the .zip file from my.neverware.com on the Downloads tab.
- CloudReady Enterprise/Education New Trials: You can start a 3 week trial of the Education or Enterprise Editions of CloudReady, totally free, by signing up at try.neverware.com. After signing up, you’ll be able to download the .zip file from my.neverware.com.
- CloudReady Home Users: If you are an individual user and don’t need support or management, download the .zip file for our free Home Edition here.
The following notes of this guide assume that:
- You are using the Chrome browser.
- You have already downloaded the image and it’s in your Downloads folder using the steps above.
Install and Launch the Chromebook Recovery Utility
To create your CloudReady USB installer, you need to add the Chromebook Recovery Utility to your browser.
1. Add Chrome Recovery Utility to Chrome: After clicking on the link above, you’ll be brought to the following Chrome Web Store website;
- Click ‘Add to Chrome‘ in the top right-hand corner.
2. Confirm & Install: On the Add “Chrome Recovery Utility” prompt:
- Click ‘Add app‘
3. Launch: The Chromebook Recovery Utility will now be installed and will show up on the Apps Page of your Chrome browser.
- Click on the Recovery icon highlighted below.
Note: This should popup automatically, if it doesn’t, type chrome://apps in the address bar of your Chrome browser.
Create the USB Installer
Note: As a general rule of thumb it is recommended to ensure the USB you are using has been formatted before continuing with the steps mentioned below. To format your USB using the Google Chrome Recovery Utility follow the steps mentioned here.
1. Initial Screen: Once launched, you should see the below screen.
2. Locate the gray gear icon on the top right of the window.
3. Browse for Local Image: Click the gray gear icon and choose Use local image and locate the cloudreadyXXXX.bin.zip file in your Downloads folder.
4. Insert USB device: When prompted, insert your 8 GB or larger USB flash drive and choose the corresponding drive on the screen.
Note:
– During the process, it is normal for the utility to show unusual percentages.
– Proceeding with this step will erase the target flash drive. Proceed with caution.
5. Process Complete: When the process is completed, remove the USB flash drive from your computer.
Congratulations, your USB flash drive is now a CloudReady installer and is ready to use!


